Create a new Project:
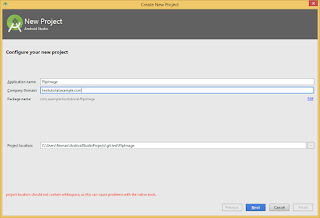
Open the android studio then click on the File > New > New Project Click on the new project then the window displayAfter Clicking on the new project this window will be open and you will see the options of application name here You will write the application name what you like to name the application, then click on the next button.
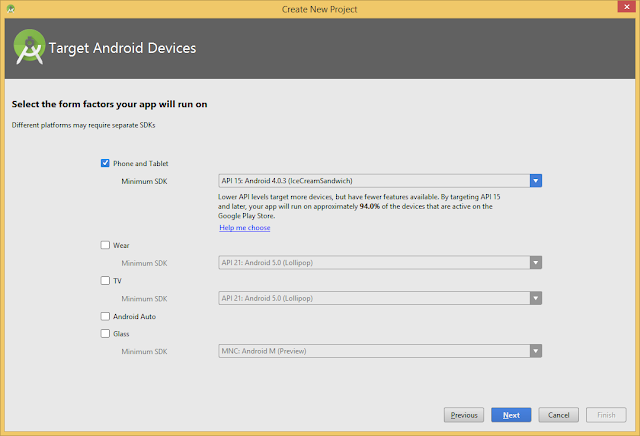
then the new window will be prompted that have the options of minimum sdk level that is required and mostly the new developers mistake in these and the project shows error. So select the sdk version properly. By default this version is selected. Then click the next button.
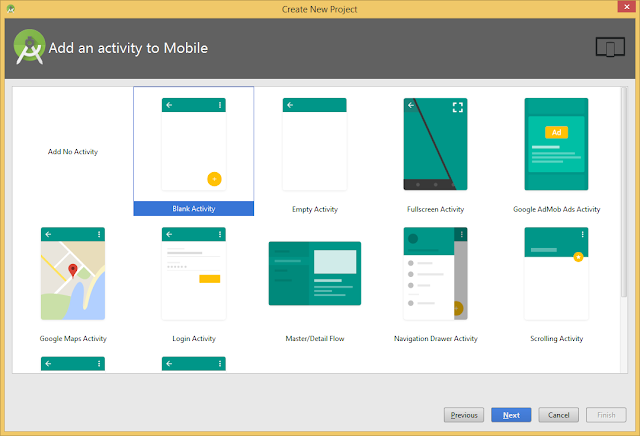
Then you will see the new window that is about the activity type, there is a blank activity and other template activities are also available that you can use for your project. We will select the blank activity and click next.
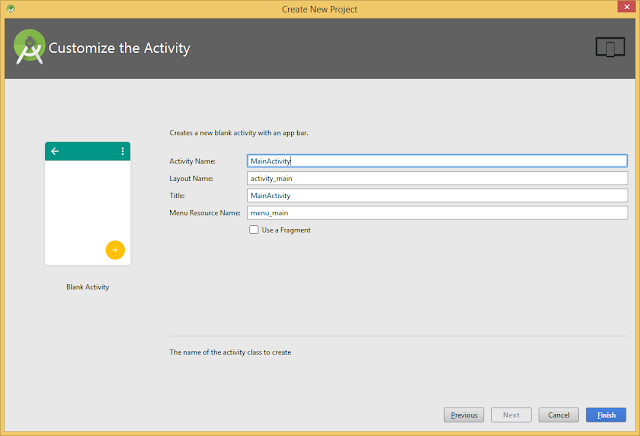
New window will prompt and that window will contain the name of activity. you can change the name but we will leave it default and click finish.
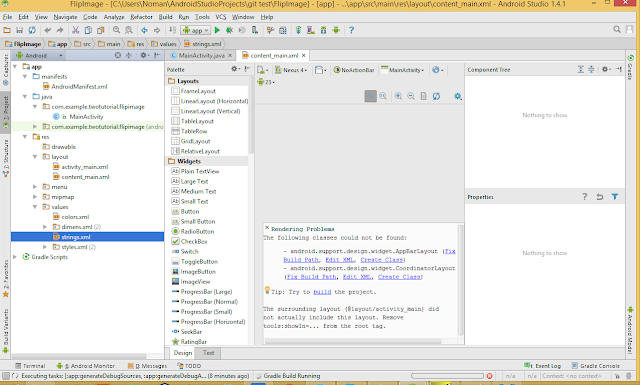
After that the new project is created and this screen will be opened. Here is the main file structure of android start. You need to understand the file structure of android studio project.
We will discuss the file structure in the next lesson.

0 comments:
Post a Comment